Today, in this tutorial, I will show you how to easily add and manage an Ads.txt file on your WordPress website.
Here, I’ll show you two easy ways to add and manage the Ads.txt file on your WordPress website, with or without a plugin.
In this article, you will learn:
- What is Ads.txt?
- What problem does Ads.txt solve?
- How does Ads.txt work?
- How to add an Ads.txt file to WordPress using a plugin?
- How to add an Ads.txt file using Hosting File Manager?
What is Ads.txt?
Ads.txt (short for Authorized Digital Sellers) is a text file (an IAB Tech Lab initiative) that helps to ensure that your digital ad inventory is only sold through sellers (such as AdSense, Media.net, etc.) who you’ve identified as authorized.
It reduces ad fraud and increases the transparency of a publisher’s ad inventory by revealing where impressions are bought and resold.
Your ads.txt file looks like this:
google.com, pub-0000000000000000, DIRECT, f08c47fec0942fa0
Where pub-0000000000000000 is your publisher ID.
What problem does Ads.txt solve?
Selling advertising space on your website is one of the best ways to make money online, but ad fraud is also a big problem for publishers and advertisers.
Creating your own ads.txt file gives you more control over who is allowed to sell ads on your site and helps prevent fraudulent inventory from being presented to advertisers.
Ads.txt is used for:
- To identify who is authorized to sell the publisher’s ad inventory
- For matching the seller account IDs in bid requests
- To the protection of advertisers from fraudulent ad inventory
- For crawling of publisher’s domains by buyers, ad exchanges, etc
- To combat domain spoofing (a type of ad fraud)
How does Ads.txt work?
First, a publisher adds an Ads.txt file to the root directory of their site. The root directory of a site is the directory or folder following the top-level domain (example.com/ads.txt).
This file verifies their ownership of the domain and points partner accounts to sell their advertising inventory. This way, advertisers can easily access the list of all authorized publishers and their advertising inventory online.
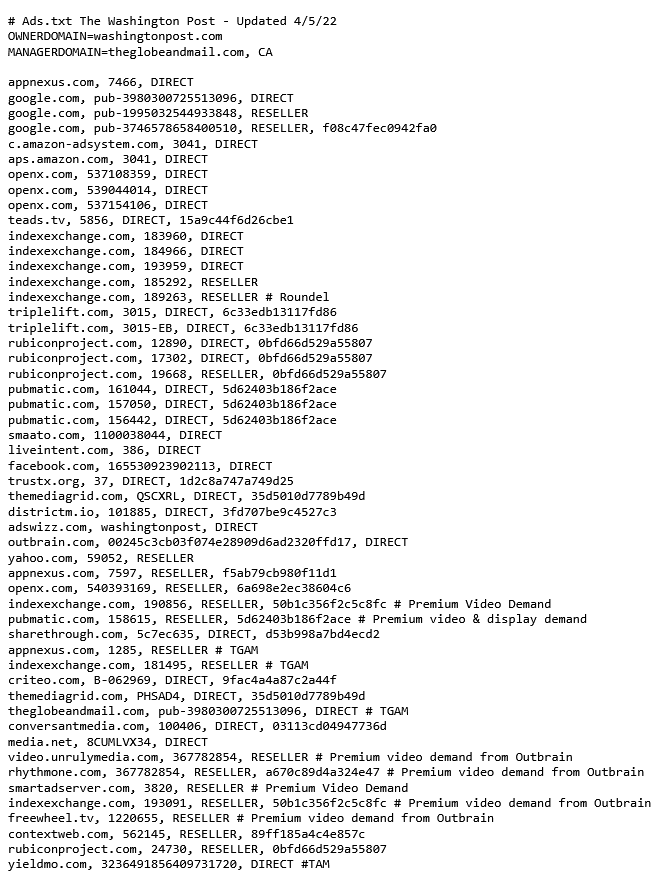
Ads.txt is publicly available and can be checked by typing in the root domain followed by /ads.txt. Here is an example of The Washington Post ads.txt file (it can be accessed at: https://www.washingtonpost.com/ads.txt).

As you can see from the example, each line of the ads.txt file contains 3 or 4 parameters separated by commas.
Let’s understand it with an example:
google.com, pub-0000000000000000, DIRECT, f08c47fec0942fa0
Here are four fields that are separated with a comma.
- Field #1: The actual domain name of the system where the bidders connect, such as google.com, Media.net, appnexus.com, etc.
- Field #2: This field represents the seller’s account ID, also known as the publisher’s account ID.
- Field #3: It represents the type of account or relationship. Where ‘Direct’ indicates that the publisher (content owner) controls the account direct shown in field #2. And has a direct commercial contract between the publisher and the advertising system. A value of ‘Reseller’ indicates that the publisher has authorized another entity to control the account pointed in field #2 and resell its ad space through the system in field #1.
- Field #4 (optional): This is an ID that an SSP/Exchange will have if they have registered with the Trustworthy Accountability Group (aka TAG). For Google seller accounts, the TAG ID is f08c47fec0942fa0.
How to add an Ads.txt file to WordPress using a plugin?
The easiest way to add Ads.txt to your WordPress site is with a plugin.
To add this:
- Log in to the WordPress admin dashboard
- Go to Plugins – Add New and search for Ads.txt Manager
- Now Install and Activate the plugin
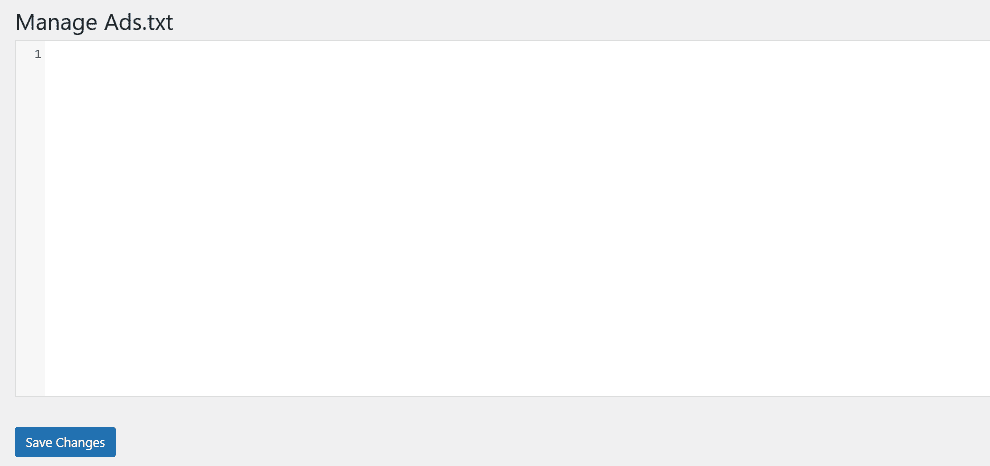
- Then head over to the Settings – Ads.txt page.

Here you can add and manage all Ads.txt files for each platform or reseller.
Finally, click on Save Changes. Now, anyone can read your site’s ads.txt file.
Add an Ads.txt file using Hosting File Manager
The second method is to add your Ads.txt file using Hosting File Manager into the cPanel.
To do this:
First, you need to create a text file on your computer and paste the Ads.txt text code (like this google.com, pub-0000000000000000, DIRECT, f08c47fec0942fa0), name this file “ads” then save
- Now log in to your hosting account (here, I’m using GreenGeeks hosting)
- Now open the cPanel and click on File Manager
- Head over to the public_html file and open it
- Click on your site domain
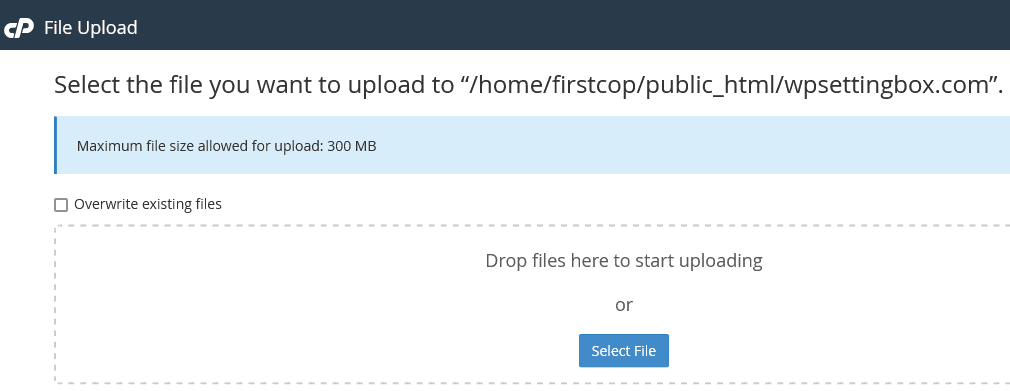
- Now click the Upload button on the top left side and upload the saved file that you created earlier

Now your Ads.txt file has been successfully added to your website.
To ensure that, type your website URL as yourdomain.com/ads.txt
Conclusion
So now you have learned how to add and manage Ads.txt files for your WordPress website.
Both methods are easy to follow.
Let me know what method you used to add the Ads.txt file for your website. Please, feel free to ask me in the comment section if you have any doubts.
I love your comments. It makes me more precise to give you the best WordPress resources and guides.
Also, you can follow WPSettingbox on Twitter and Facebook to receive fresh and updated content.
